Recently I posted the first in a series of silly yet informative photography tutorial videos. Because the video is only 2 and a half minutes long, I wanted to make a companion piece to it that shows more detail and step by step directions.
What you’ll need:
- Camera
- Lens
- Flash that has a radio receiver built in such as the Canon 600 ex rt, or a flash and a radio system such as pocket wizards.
- A 2nd flash, or a radio transmitter
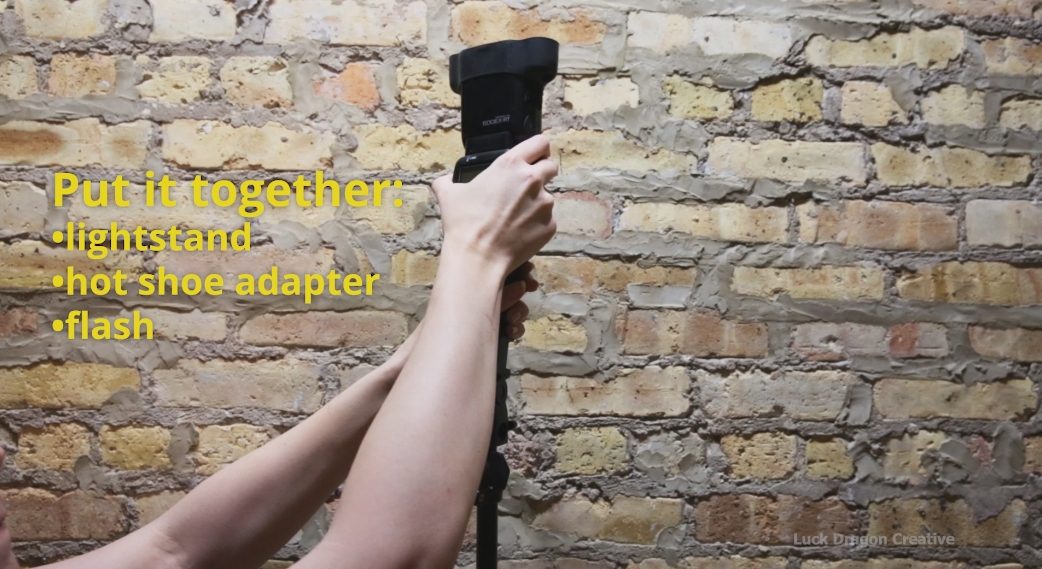
- light stand
- hot shoe adapter that connects your flash to the light stand
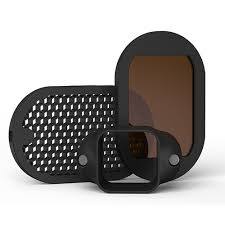
- Magmod MagGrid and MagMod Pro Correction Gels for the flash. A grid will help narrow and direct your light, rather than having the light flood the scene. The CTO gel will match the color of the flash’s light with the ambient light if you have a very orange ambient light scenario.
How it works:
Take a photo of your scene without flash added. Decide how much ambient light you want in your background. The best way to adjust this is with your shutter speed, because your shutter speed does not effect your flash power. Click here for more info on this.
I like to have my ISO as low as possible so that the image is not too noisy, so I tend to add more flash power rather than raising my ISO. I also usually have my lens at around f/2.8. However, you might want to go to around f/4.0 if you want more than 1 person in the shot to be in focus. It just depends on where you’re standing, and the focal plane. More info on that here.
Now add your flash. Set up your light stand, hot shoe adapter, flash, grid, gel, and your camera lens, and transmitter.
In this video, I have the flash 8 feet from the subject. This is a good way to make sure that not too much light gets all around the area, just on your subjects. But sometimes you’ll be in a room where this is not possible, and you’ll need to get that thing farther away. You could use the zoom function on your flash, or more grids. You’ll also need to raise your manual flash power, and raise up your light stand.
Lower your flash to subject height. You can point it down, but that can get really tricky using grids. So I tend to keep it relatively straight up, and just make sure to lower the light stand so that it’s not going over the subjects heads. You can take a test shot to see if it’s in the right spot, or you can simply fire the flash’ test button to get an idea of where the light is hitting. There’s an example of this in the video.
TRIANGLE OF AWESOME
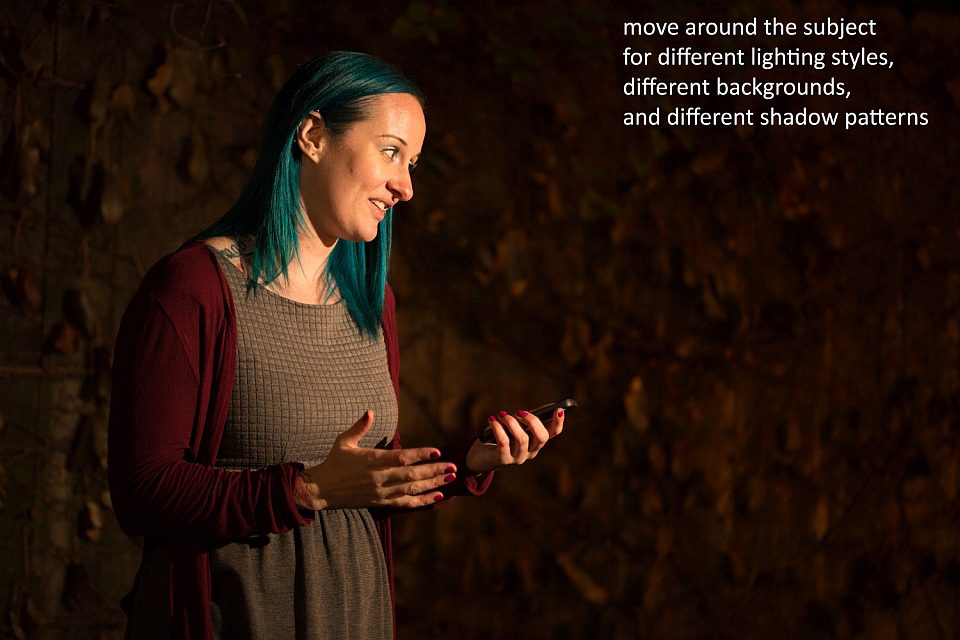
Short lighting is great for something like speeches. Short lighting is when the light is hitting the subject’s face that is furtherst from the camera.

Think of your flash, subject, and camera in a triangle.
In the video, my camera is at the bottom of the triangle, the flash is at the left point, and the subject is at the right point. This is a good way to get short lighting, if your subjects are turned in the right way. You can adjust your flash’s position to tuck that light slightly behind them so that the flash isn’t hitting them full in the face. You can also move around to experiment with shadows on the faces, a less dramatic “broad” light, etc.
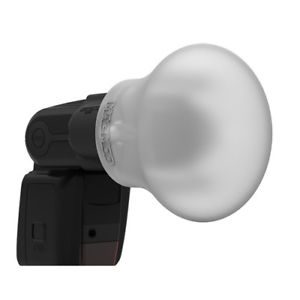
Pop something like a MagMod Magsphere on the flash to get more soft, diffused, even, less dramatic lighting.
Do another test shot to make sure you have your ISO, shutter speed, f stop, and flash all the way you want it. Move around and experiment until you find what you like.
PRACTICE. Don’t practice this at a paid gig. Practice at home, on something that is unpredictable, like cats or kids. If you’re shooting a wedding, make sure you have a 2nd Photographer to back you up while you’re still new to off camera lighting!
Develop your style. Keep experimenting with different settings
Products used in the video:
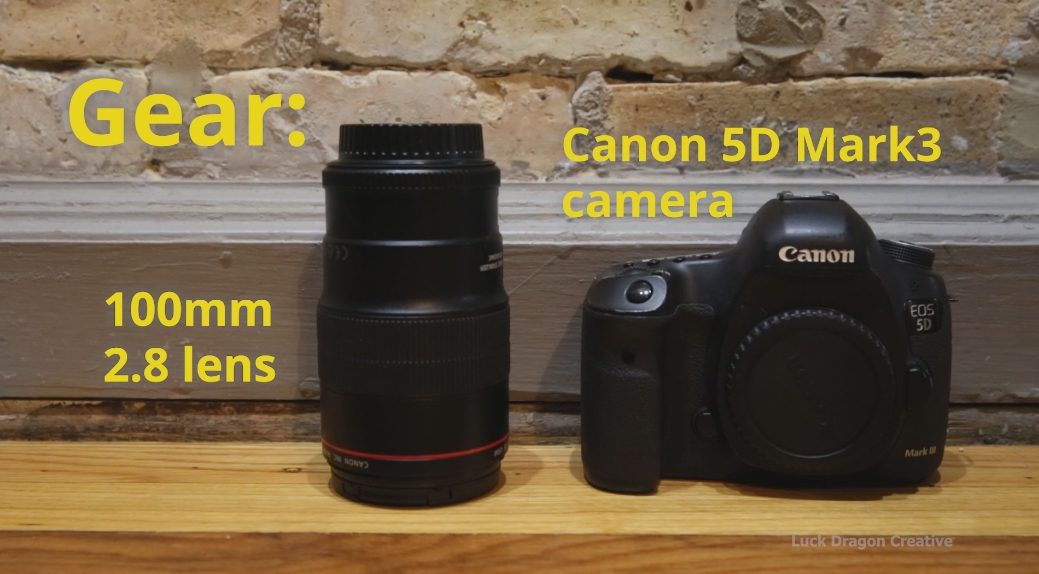
EOS 5D Mark III DSLR Camera
Canon EF 100mm f/2.8 USM Macro Auto Focus Lens
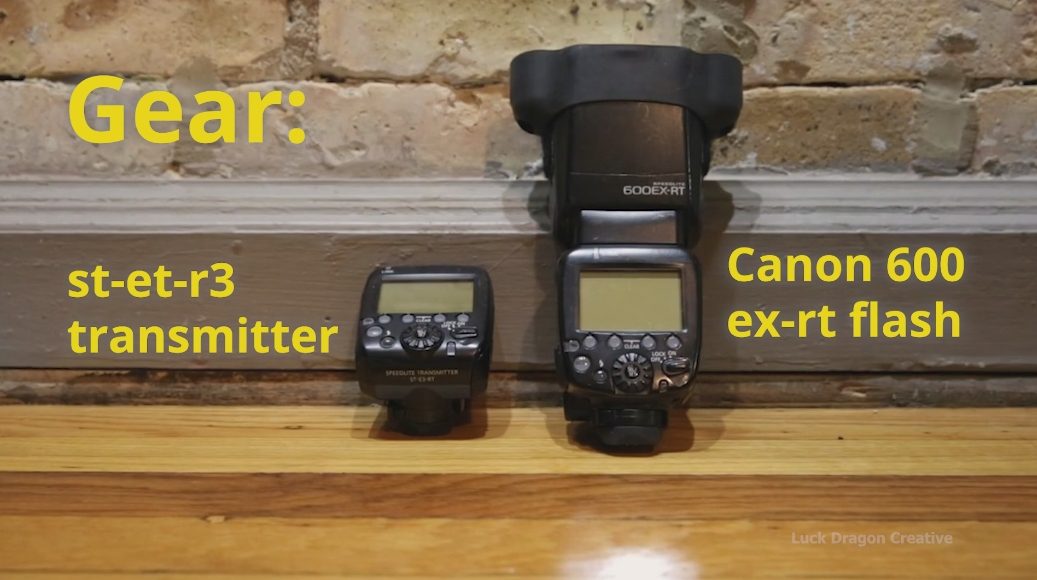
Canon ST-E3-RT Speedlite Transmitter for 600EX-RT
Canon 600EX-RT Speedlight flash
Cheetahstand C8 Lightstand

This Educational Post was Brought to You by MagMod!

Click here to support this FREE education, and also get a 5% discount on the Magmod products I used in ALL of these photos!
I offer Workshops and One-On-One Mentorships! Lessons via video chat are also available. Click here to learn more!
Check out my YouTube Channel here!

